Skip to content
Home
My Account
Products
Contact
Navigation Menu
Navigation Menu
Home
My Account
Products
Contact
A Shape Recap
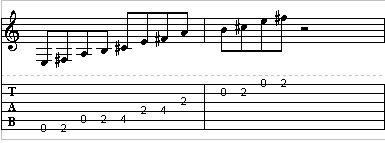
Fig. 1
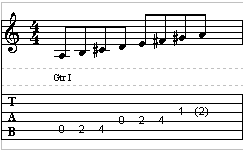
Fig. 2
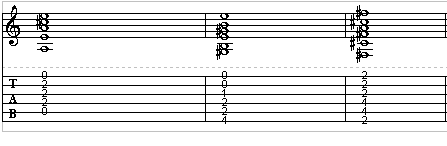
Fig. 3
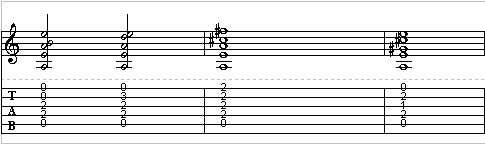
Fig. 4
Fig. 5